Last Updated on October 8, 2022 by Rebecca Huff
My daughter and I found the cutest wood-fired pizza oven at World Market two summers ago. Since then, we’ve enjoyed learning the wood-fired oven technique for baking delicious pizzas at home.
The first video I shared using our outdoor pizza oven was just for fun. Watch me cook a World Market Pizza Oven Wood Fired Pizza (no voiceover). Or watch the new video with step by step instructions for making your own wood fired pizzas here.
I'm no pro using sourdough, but I've been playing with it for several years. I got my starter culture from Cultures for Health and am still using it after all this time.
Since then, many of you have submitted questions about the process. Viewers on YouTube requested a voiceover video tutorial, so here it is. I’m not Italian, nor am I a professional baker. You don’t have to be one either to make perfectly delicious pizzeria-style pizzas!
Wood-Fired Pizza Oven Options
You can find a variety of wood-fired pizza ovens on the market. We chose the World Market Fish oven because it was so cute. However, if you choose this one, check the “bottom lip” of the fish. Viewers have commented that my older version has a “flat lip” whereas the newer version has a raised lip, making it hard to slide in the pizza peel. I don’t know if World Market has corrected that in the newest models, so check before buying.
Otherwise, I also found this Ooni wood-fired oven on Amazon with excellent reviews.
Tips for Great Wood-Fired Pizzas
Dry ingredients: flour, salt, and if using, active dry yeast. If you prefer the sourdough-only method, you’ll want to ferment your pizza dough overnight and skip the active dry yeast.

Flour makes a big difference in a great pizza. I don’t recommend bread flour for pizza ovens. Most of the time I use organic all purpose flour. When I find it on sale or have some, I use 00 pizza flour.
Using all-purpose flour works on a pizza stone cooked in an oven at 500+ degrees Fahrenheit. But for wood-fired pizza, using 00 is helpful as it has a slightly higher gluten content than bread flour.
However, 00 flour is made from durum wheat, resulting in gluten that is strong but not very elastic. Making a perfectly chewy, bubbly, crispy crust in a wood-fired pizza oven. Neapolitan-style pizza restaurants typically use 00 flour for their wood-fired pizza crusts.
Using a stand mixer and dough hook, keep the mixer on low speed as high speed will beat the flour up and it can be tougher. I don't usually let it mix more than 5-7 minutes on low speed.
Pizzas baked in wood-fired ovens cook hotter than in the oven, so they cook in about 2 minutes or less. This gives you the crispy smoky outer crust with the soft, pillowy, air pockets inside.
Toppings for Wood-Fired Pizzas
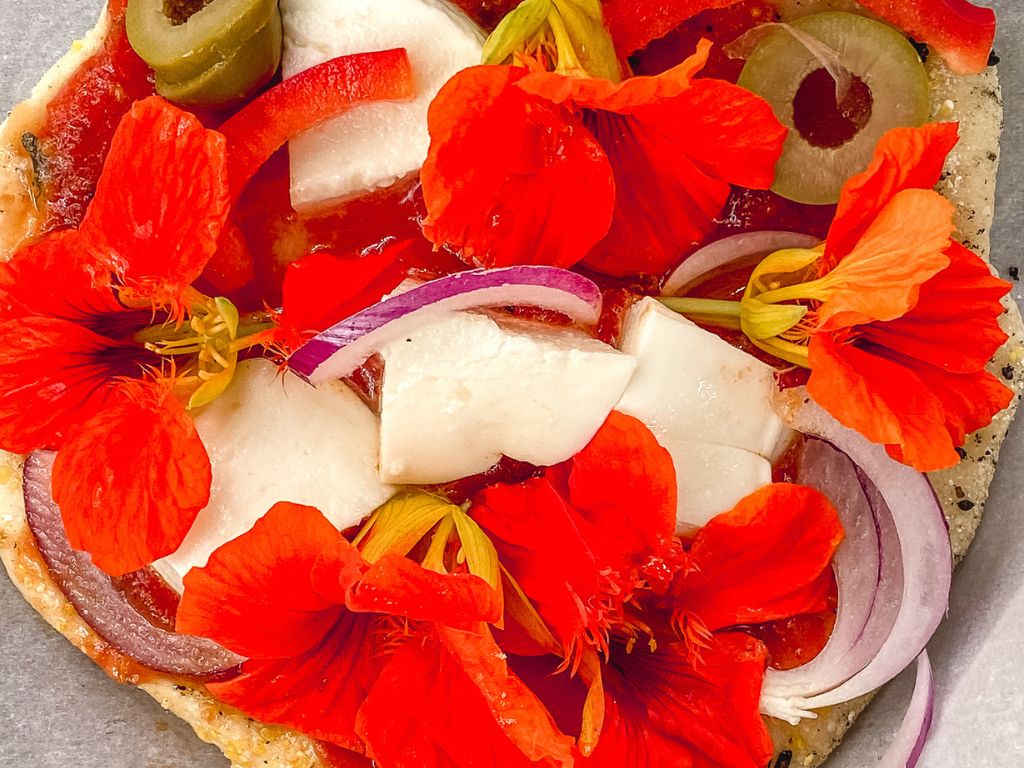
Homemade pizzas are so flavorful; my grandma made them for us several times yearly. She topped hers with pimento-stuffed green olives, which I rarely see at restaurants. To this day, I still prefer pizza with green olives. We added edible flowers to the pizza below.

We tend to keep it simple when making wood fired pizzas outside. Having a large family, we tend to take turns at the oven, but everyone adds their own toppings to the pizzas. This makes an excellent Family Dinner Night activity.
My kids like pizza sauce with pepperoni and mozzarella cheese. They’ll happily add onions, bell peppers, tiny tomatoes, or whatever I supply. You can top your pizza with whatever your heart desires!
Keep it simple with pizza sauce and cheese if you like. My favorite is pizza sauce, fresh mozzarella, and basil. Once I pull the pizza out of the oven, I drizzle a bit of extra virgin olive oil and top it with a tiny pinch of Celtic Sea Salt.
We use fresh basil straight from the garden on our pizzas. My youngest son likes the basil to cook with the pizza, but I prefer to add it after the pizza comes out of the oven. Try it both ways to see what you like.
My Wood-Fired Pizza Dough Recipe
I combined a sourdough starter and dry yeast to get a fluffy pizza crust. Then I tried just going with pure sourdough. There’s less margin for error when using the active dry yeast, so I went back to that method.
You still get a delicious mild sourdough taste. I settled on the following and adjust the yeast depending on how much time I have to make my wood fired pizza dough before baking.
Tools that Help with Wood Fired Pizza Making Include:
- Cotton mop for cleaning – this one comes with replaceable heads which is helpful when you use it frequently.
- Pizza Peel (I didn't get metal, but I do recommend it for durability.)
- Heavy Duty Tongs – I use these for moving the wood, the cooking tongs I use came from Williams Sonoma.
- Long gloves – these help keep your arms from getting burnt, and dirty!
- Small wood for pizza ovens – this is the exact wood I have used since I first got my pizza oven, I order it on Amazon.
- Pizza Oven Fire Starters – safe for use in grills and pizza ovens, indoor/outdoor.
- 00 Pizza Flour – this is usually in the baking aisle at the supermarket.
- Polenta Corn Grits – just a pinch will allow the pizza to “roll” off the pizza peel, this is not for adding to the dough recipe!

Wood Fired Pizza Dough
Equipment
- KitchenAid Mixer
- Sourdough Starter from Cultures for Health
- Polenta Corn Grits to allow pizzas to roll off the pizza peel (not for adding to dough recipe!)
Ingredients
- 2 cups sourdough starter, unfed/discard 454 grams
- 1¼ cup water, warm 282-340 grams, start with smaller amount
- 5 cups all purpose flour, unbleached, organic 600 grams (or half all purpose and half 00 pizza flour)
- 2 tsp sea salt
- 1-1½ tsp active dry yeast (depending on your sourdough starter) *see note if you don’t have a sourdough starter
Instructions
- Stir the unfed sourdough starter before measuring out 2 cups of the starter; pour this into the large bowl of a Kitchenaid stand mixer. Go ahead and feed the remainder of your starter, if necessary, and set it aside.
- Weigh your flour with a kitchen scale. If you don’t have a scale, use a cup plus the back of a butter knife to get even cup measurements.
- Next, combine the lesser amount of water, flour, salt, and yeast to the sourdough starter; you can “tare” to get exact measurements when using a scale. This helps to get consistently good dough every time. (I highly recommend a weight scale for the best pizza dough!)
- Using a dough hook attachment, turn on the mixer. If the mixed dough looks dry, start adding the remaining water 1 tablespoon until the dough cleans the sides of the bowl and forms a beautiful dough ball. (Kneading by hand is a great workout if you don’t have a mixer and will still result in a beautiful pizza crust.)
- Once the dough ball is formed, rub olive oil in a clean bowl, add the dough, cover, and let rise until almost doubled in size. Let the dough rise for about 2-4 hours in a warm kitchen. (If you’re in a hurry, you can use 2 teaspoons of active dry yeast.)
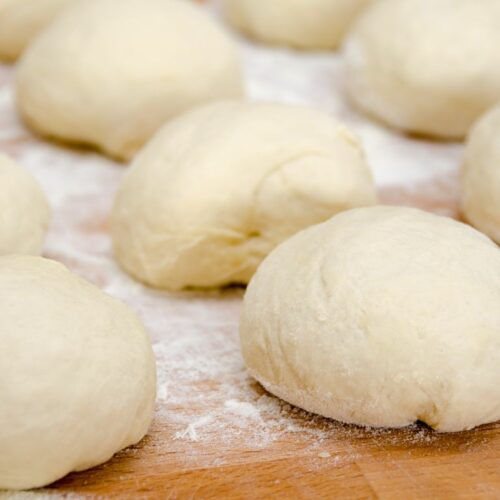
- Divide the dough into 6-8 pieces or however many servings you need, depending on the size of your pizza oven. (Measuring is highly recommended!)
- Cut the same number of pieces of parchment paper as you have pizza crusts. These will keep the dough from sticking to one another. You can use polenta, corn grits, or corn meal lightly sprinkled on the parchment to help scoot the pizzas into the pizza oven.
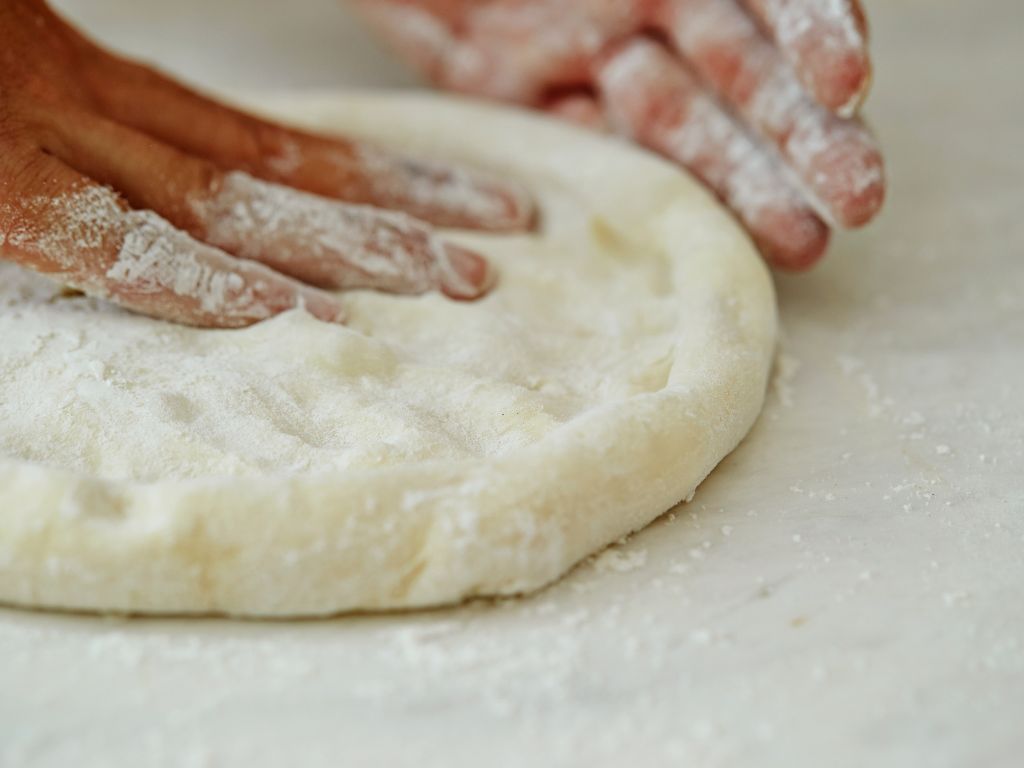
- Next, shape each dough ball into a personal size pizza crust using your hands on a lightly floured surface. Thin-crust pizza is my favorite, but you need a bit of thickness for wood-fired pizzas. Let the shaped crust rest at room temperature while you get the oven ready.
- Build the fire in your pizza oven. Once it is very hot or above 500 degrees Fahrenheit, use a pizza peel to slide the pizzas into the oven. (I use a pinch of corn grits on my peel to help the dough slide into the oven, or you can use additional flour.)
- Bake until it’s done, then flip over, add toppings and bake until cheese is melty or until your toppings are done and the crust is browned to your liking.
Video
Notes
Wood-Fired Pizza Dough Recipe
2 cups (454g) sourdough starter, unfed/discard (I get my starter from Cultures for Health and it lasts as long as you take care of it.)
1 1/4 cup (282g to 340g) warm water, warmer than room temperature, so you might check the temperature – about 110 Fahrenheit
5 cups (600g) Organic Unbleached All-Purpose Flour (or half 00 pizza flour and all-purpose flour)
2 teaspoon salt (I really like Himalayan, Real Salt or Celtic Sea Salt)
1-1 1/2 teaspoons active dry yeast (depending on your sourdough starter) *see note if you don’t have a sourdough starter
- Stir the unfed sourdough starter before measuring out 2 cups of the starter; pour this into the large bowl of a Kitchenaid stand mixer. Go ahead and feed the remainder of your starter, if necessary, and set it aside.
- Weigh your flour with a kitchen scale. If you don’t have a scale, use a cup plus the back of a butter knife to get even cup measurements.
- Next, combine the lesser amount of water, flour, salt, and yeast to the sourdough starter; you can “tare” to get exact measurements when using a scale. This helps to get consistently good dough every time. (I highly recommend a weight scale for the best pizza dough!)
- Using a dough hook attachment, turn on the mixer. If the mixed dough looks dry, start adding the remaining water 1 tablespoon until the dough cleans the sides of the bowl and forms a beautiful dough ball. (Kneading by hand is a great workout if you don’t have a mixer and will still result in a beautiful pizza crust.)
- Once the dough ball is formed, rub olive oil in a clean bowl, add the dough, cover, and let rise until almost doubled in size. Let the dough rise for about 2-4 hours in a warm kitchen. (If you’re in a hurry, you can use 2 teaspoons of active dry yeast.)
- Divide the dough into 6-8 pieces or however many servings you need, depending on the size of your pizza oven. (Measuring is highly recommended!)
- Cut the same number of pieces of parchment paper as you have pizza crusts. These will keep the dough from sticking to one another. You can use polenta, corn grits, or corn meal lightly sprinkled on the parchment to help scoot the pizzas into the pizza oven.
- Next, shape each dough ball into a personal size pizza crust using your hands on a lightly floured surface. Thin-crust pizza is my favorite, but you need a bit of thickness for wood-fired pizzas. Let the shaped crust rest at room temperature while you get the oven ready.
- Build the fire in your pizza oven. Once it is very hot or above 500 degrees Faherenheit, use a pizza peel to slide the pizzas into the oven. (I use a pinch of corn grits on my peel to help the dough slide into the oven, or you can use additional flour.)
- Bake until it’s done, then flip over, add toppings and bake until cheese is melty or until your toppings are done and the crust is browned to your liking.
Notes:
Watch this video to see the process of how I make wood-fired pizzas in our World Market Fish Shaped Pizza Oven. Noting that this is how we do it and what works for us.
If I start this dough early enough, I don’t use the active dry yeast. My sourdough is strong enough to use on its own with a 24-36 hour window. However, most of the time, I’m in a hurry and I end up using both sourdough starter and the active dry yeast. If you don’t have sourdough starter you can simply leave it out and use the full amount of yeast. Keep in mind you may need to adjust the amount of flour or liquid in the recipe.
I use Cultures for Health for all my culture needs, including sourdough starter. You’ll only have to buy a starter once, and the results are much more reliable than starting your own with flour and water. My sourdough has been around for almost two years and I’ve heard of people having them for decades. You just have to learn to feed it and take care of it.
I’d also recommend learning about hydration. Here’s an article to help you understand more about sourdough and hydration.
Here are some other recipes you might like, if you're not opposed to carbohydrates!


 Simple Recipe for Yakitori Sauce