Last Updated on June 29, 2022 by Rebecca Huff
You might think almond milk is the most popular non-dairy milk, however, that title goes to soy milk. Soybeans are legumes, and this post is focused on making milk from nuts, however, you can also make oat milk in a similar way.
There is something very satisfying about making homemade almond milk. If you follow a dairy-free diet, this milk recipe will become your go-to for making nut milk. The benefit is this milk tastes better than what you buy in the store, plus it doesn't have preservatives because you're not trying to extend shelf life. You can drink it right away or within 3-4 days.
You may notice that the boxed version has a different consistency, which is due to thickeners. Homemade nut milk is low in carbohydrates and is better tasting than storebought. You can use it in your coffee as a creamer without worrying about any additives or other unnecessary ingredients.
Making homemade nut milk doesn't have to be time-consuming; especially if you don't include the prep time. Including cleanup, I can make a batch of milk in less than ten minutes with pre-soaked nuts. *See demo video at the bottom of this post!
When you are shopping for your nuts for nut milk, make sure that you are getting the freshest you can find. Rancid nuts taste bad, so taste them to check the quality before you soak and blend.
The ratio is always 4 cups water to 1 cup of nuts of your choice. You can use almonds, cashews, hazelnuts, pistachios, pecans, walnuts; you name it! Just make sure that you are using raw, unroasted, unsalted nuts. Roasted nuts make bitter-tasting nut milk.
How to Make Nut Milk
You'll need something to soak the nuts in, along with a nut milk bag or a way to strain the pulp from the milk.
The process is simple, just place the nuts in a jar or other glass bowl and add water to cover nuts. Allow them to soak for the allotted amount of time. You don't want to skip this step if at all possible because soaking leaves less nut pulp behind. Also, soaking reduces phytates which block nutrients, so you get more of their nutty goodness. Soaked nuts also create creamier milk.
To soak the nuts, simply leave them in a large bowl with filtered water at room temperature for the allotted amount of time. See the list below for reference:
Soaking times for Nut Milk
The total time for making nut milk including soak time is anywhere from four to twelve hours.
- Almonds 8 to 12 hours
- Cashews soak for less than 4 hours
- Hazelnuts 6-8 hours
- Macadamia nuts do not require soaking
- Pecans 6-8 hours
- Pine nuts do not require soaking
- Walnuts 6-8 hours
Supplies Needed to Make Nut Milk
- fine mesh strainer or
- nut milk bag or cheesecloth
- blender or food processor
- glass jar or other container for storage

For longer soak times, and hotter climates, you may want to drain and add fresh water halfway through. Most likely this won't be necessary, although if you're worried about soaking in water for 12 hours, go ahead and change for fresh water.
After the soaking time, drain nuts and discard the liquid. Put the nuts in your high-speed blender and add four cups of water. A high-powered blender works best.
As I said, four to one, so if you soaked one cup of nuts, you'll use four cups of water. If you use hot water you'll get creamier nut milk, but you can use room temperature, it works fine.
Before you blend, I would suggest adding the tiniest pinch of sea salt for a better-balanced flavor. If you like sweet dairy-free milk, try blending with Medjool dates before you strain the nut milk. Other sweeteners you might consider are coconut sugar, honey, maple syrup, agave, etc. You can also add a cinnamon stick to the nuts while they are soaking for a very faint taste of cinnamon.
Sometimes we add a few drops of vanilla extract, or if I have a leftover vanilla bean pod (after the seeds have been scraped out), I will put it in the soaking water. Cashew milk with a touch of cinnamon and vanilla is my personal favorite.
After blending the mixture, strain through a mesh strainer. Blend for a couple of minutes for the silkiest, smoothest milk. You can also use a mesh bag just for making nut milk; I find it much harder to use the metal mesh strainer. Though if you like your milk incredibly smooth with no hint of grittiness, then you'll want to use the bag.
Nut Milk
Ingredients
- 1 cup nut of your choice
- 4 cups water
- sweetener optional
- pinch of salt optional
Instructions
- Soak nuts in fresh water for proper amount of time.
- Strain water. Add nuts and fresh water to high speed blender.
- Strain pulp, put add-ins in blender.
- Drink. Store leftover in air tight container.
Enjoy Delicious Nut Milk
I've been using my Vitamix blender for making almond milk for two decades. Way back when I lived in Florida, I had access to truly raw almonds. Raw nuts are harder to come by now.
But back then, I'd blend my soaked almonds and then save the pulp and use it as an almond meal. This made a fantastic gluten-free flour that I could add in baking brownies or mixing in granola to add bulk. Leftover almond pulp has many uses, so if you're making homemade milk, consider all the ways you can put this resource to use and prevent food waste.
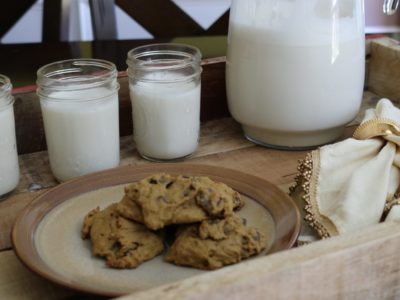
What else to do with your own nut milk? Any nut milk is perfect for smoothies, cooking, or just for drinking when you want to wash down a warm gooey chocolate chip cookie! Speaking of chocolate, you can also add cocoa powder and a pinch of salt to make a chocolate milk version.
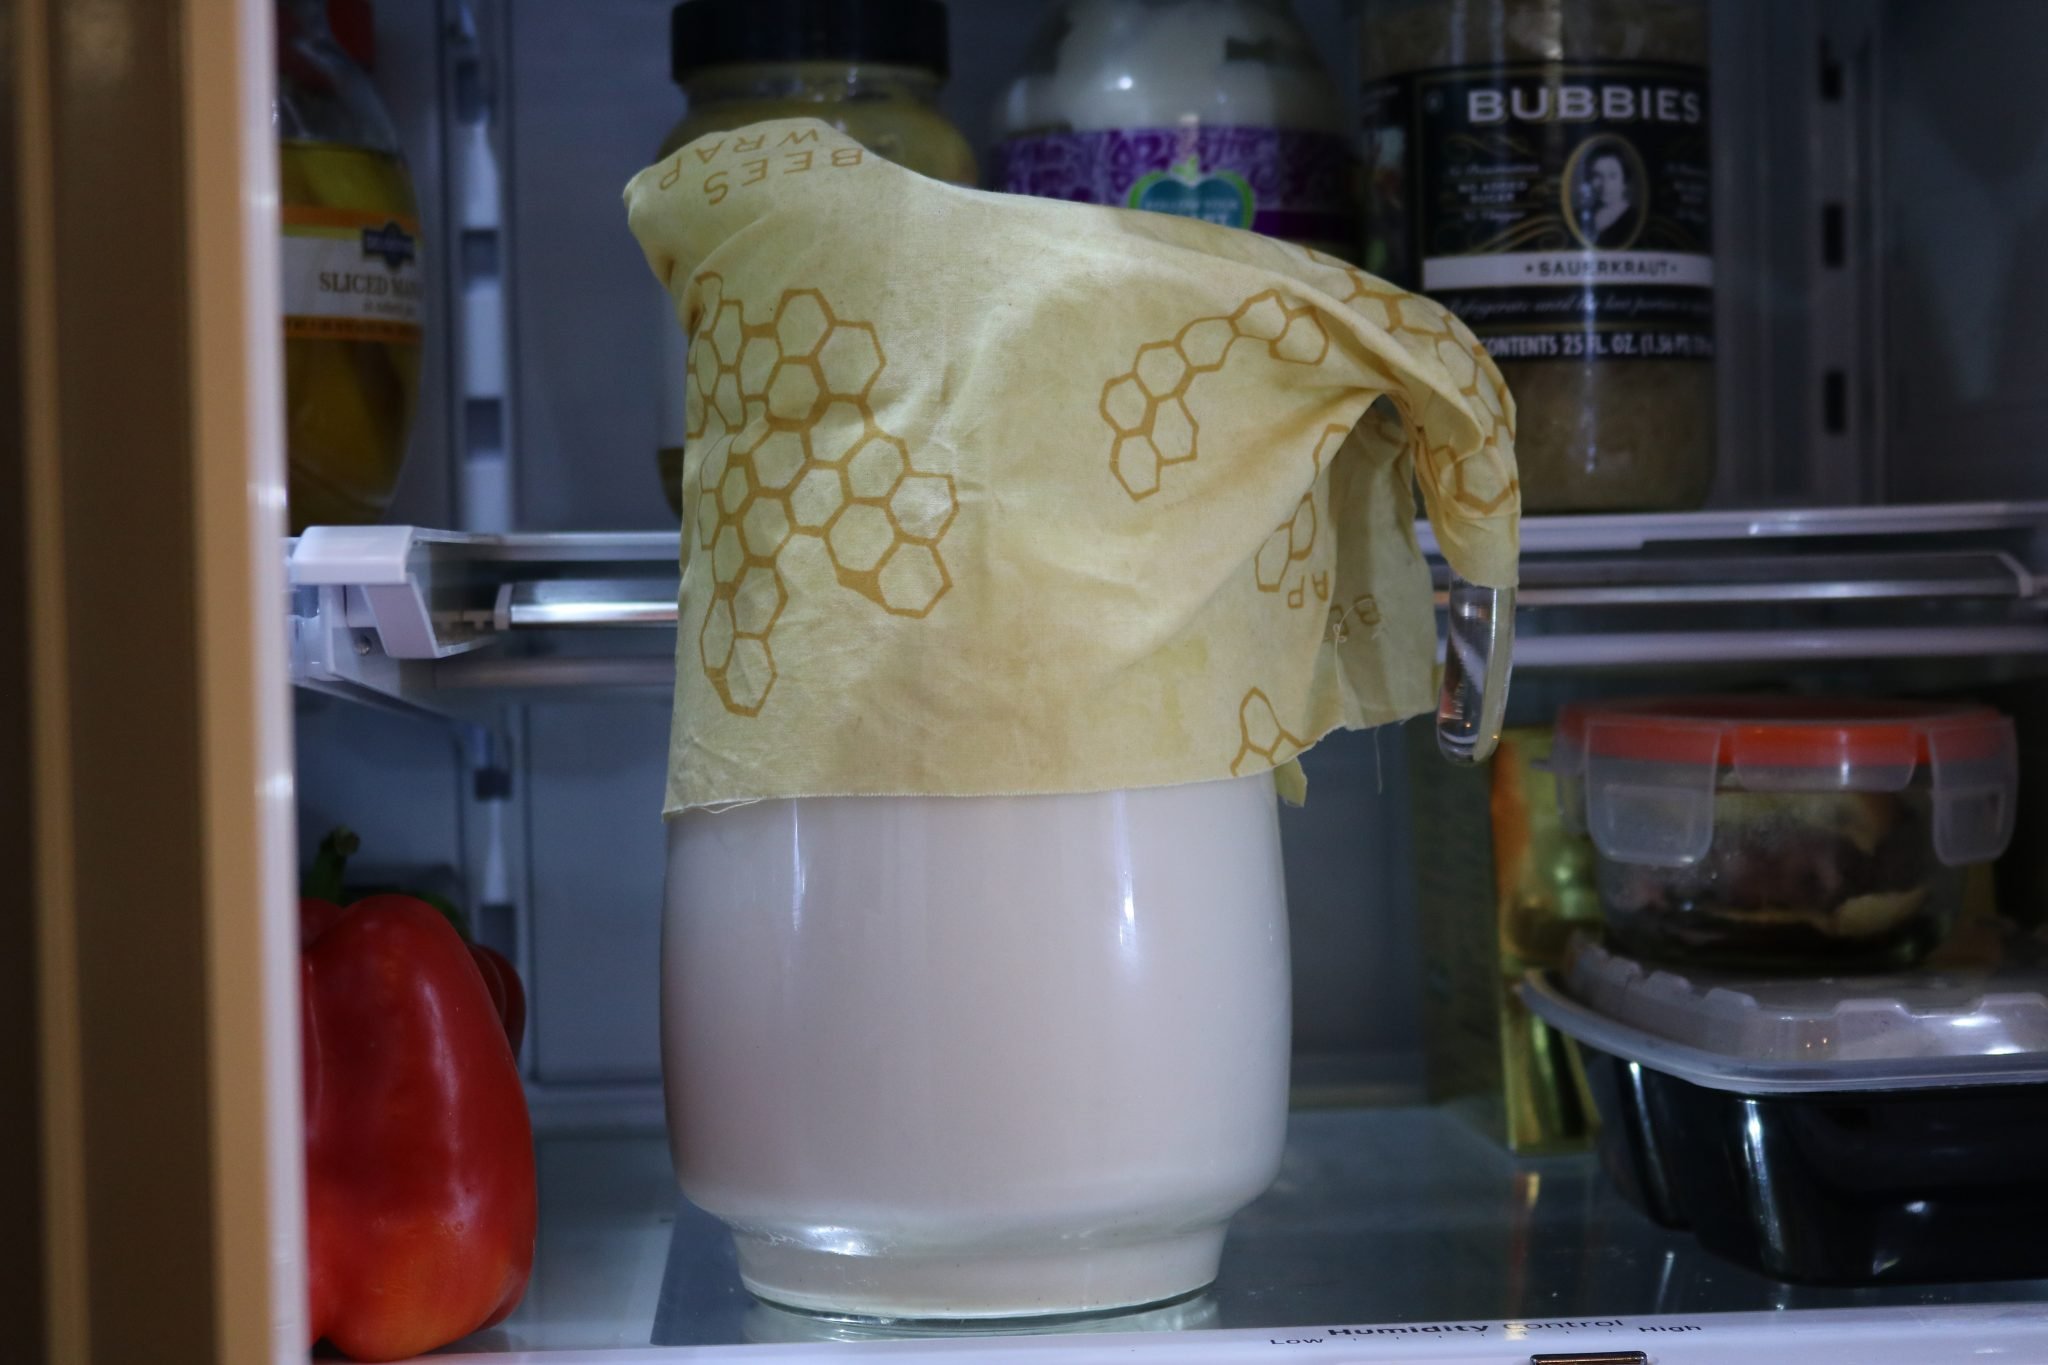
Store your nut milk in an airtight container in the fridge, just like with cow's milk, it can go bad. When I'm serving milk and cookies I pour our milk into a glass pitcher. For storage, I use a glass jar like the ones pictured below, single-serving style. My kids love that.


 How using the Ketogenic Lifestyle has improved my health
Leave a Reply
You must be logged in to post a comment.