Last Updated on June 29, 2022 by Rebecca Huff
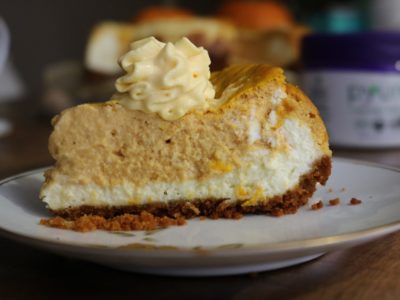
The holidays are around the corner, so we begin to think of pumpkins! This Low Carb Pumpkin Swirl Cheesecake can be made with or without the crust; with or without the pumpkin swirl.
Post sponsored by Pyure Organic
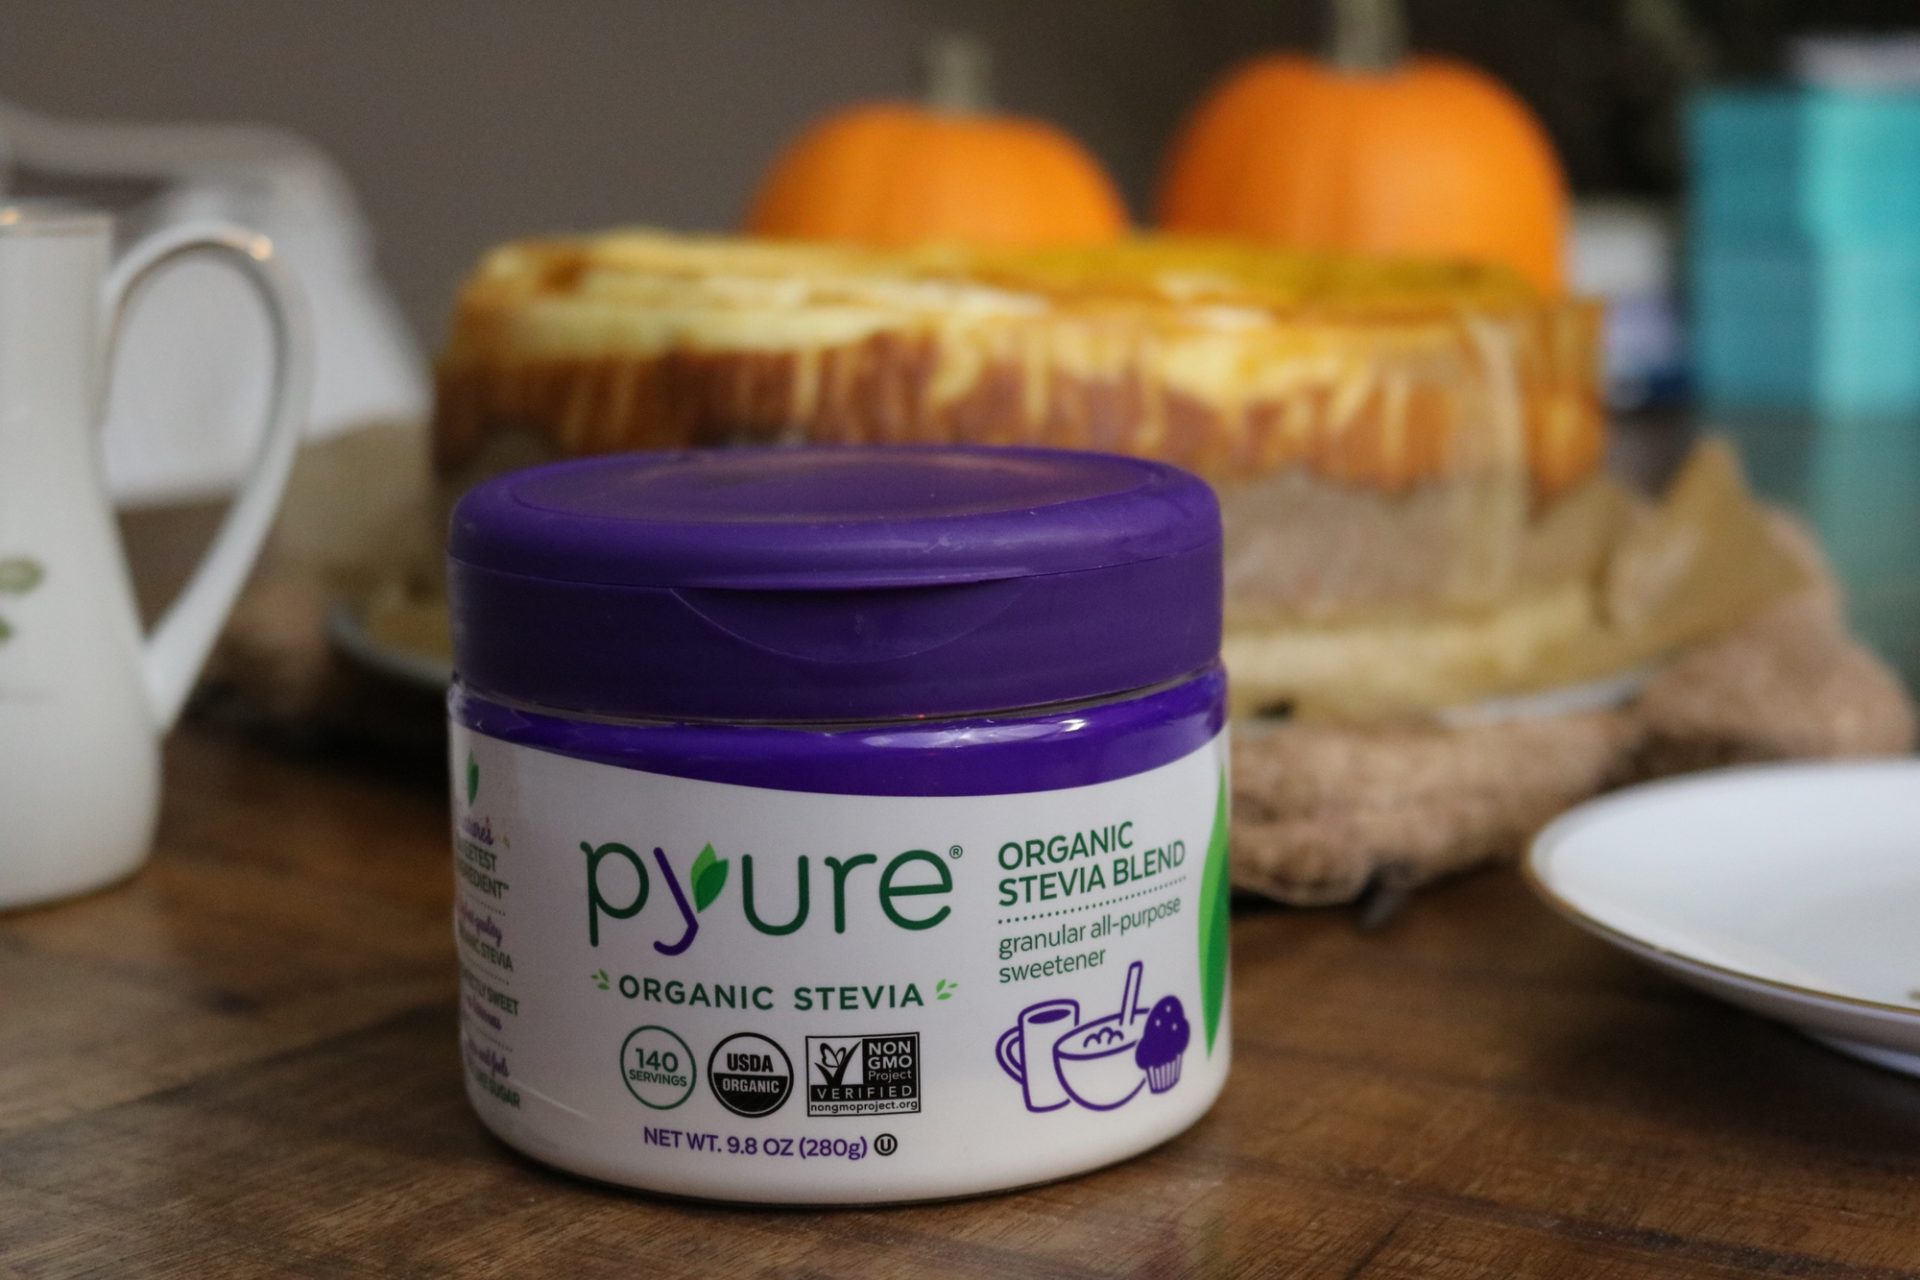
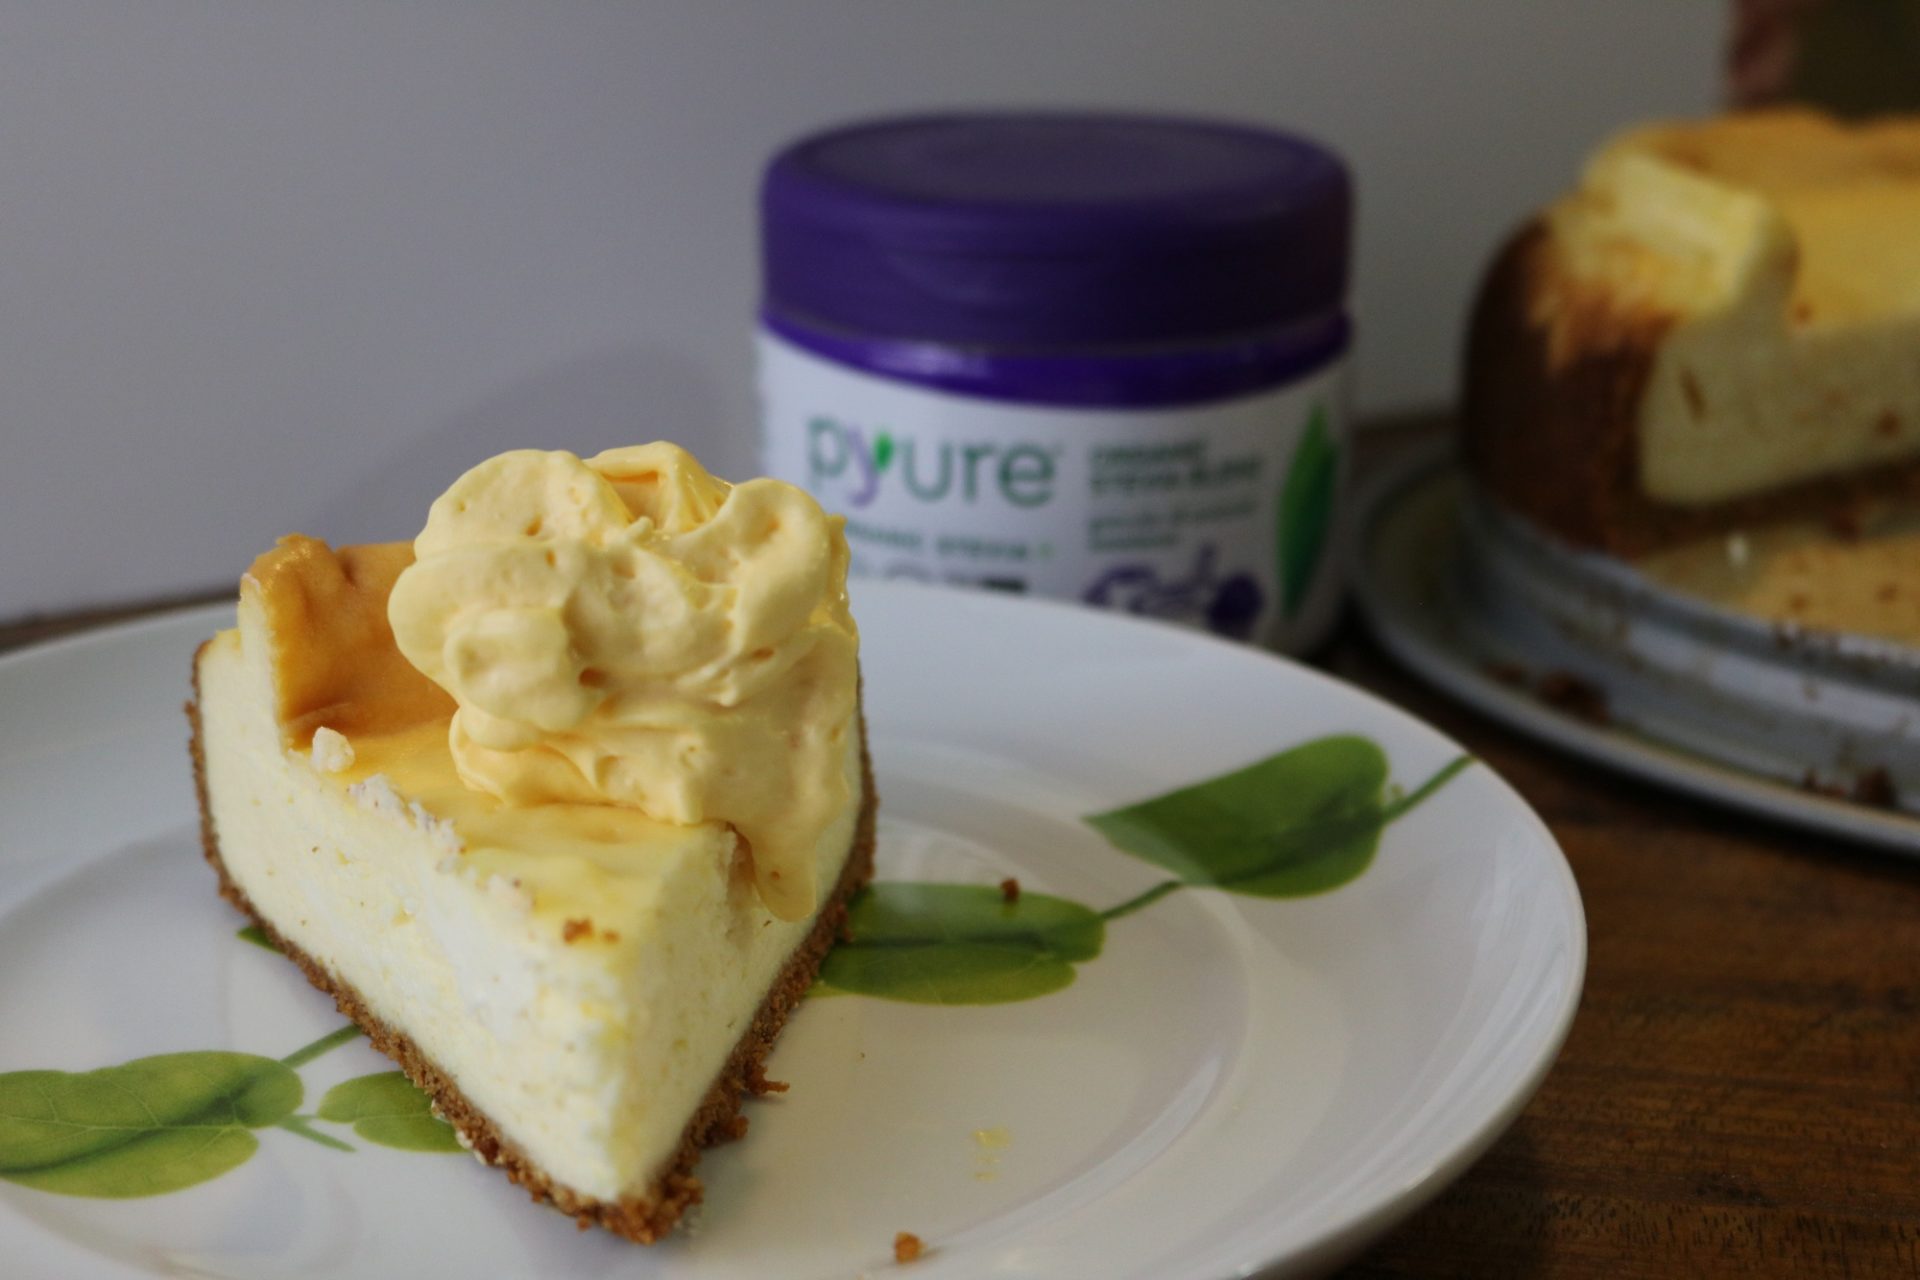
This cheesecake is secretly sugar-free! Using Pyure Organic All-Purpose Stevia Blend means you’ll be getting all the sweet flavor without all the calories of regular sugar.
You may be wondering if pumpkins are low carb or keto-friendly. The answer is yes, pumpkin can be part of a low-carb diet when used in moderation. In this recipe, we get about 1.34 tablespoons of pumpkin per serving.
Staying low-carb and sugar-free is good for overall well-being and may help reduce the risk of obesity and type 2 diabetes.
If you avoid pumpkin, you'll miss out on some beneficial nutrients. That's because pumpkins are full of fiber and antioxidant vitamins A, C, and E. You get 250% of your RDA of Vitamin A in only 3.5 ounces of pumpkin. Pumpkin is also a good source of B-complex vitamins. The beta-carotene in pumpkin could reduce the risk of developing certain cancers.
Using a cup of canned pumpkin in this recipe will give you just enough pumpkin-y goodness to satisfy your cravings without worrying about going over your carb count for the day.
If you prefer, you can leave out the pumpkin and make this a traditional cheesecake. Another option is to leave off the crust.
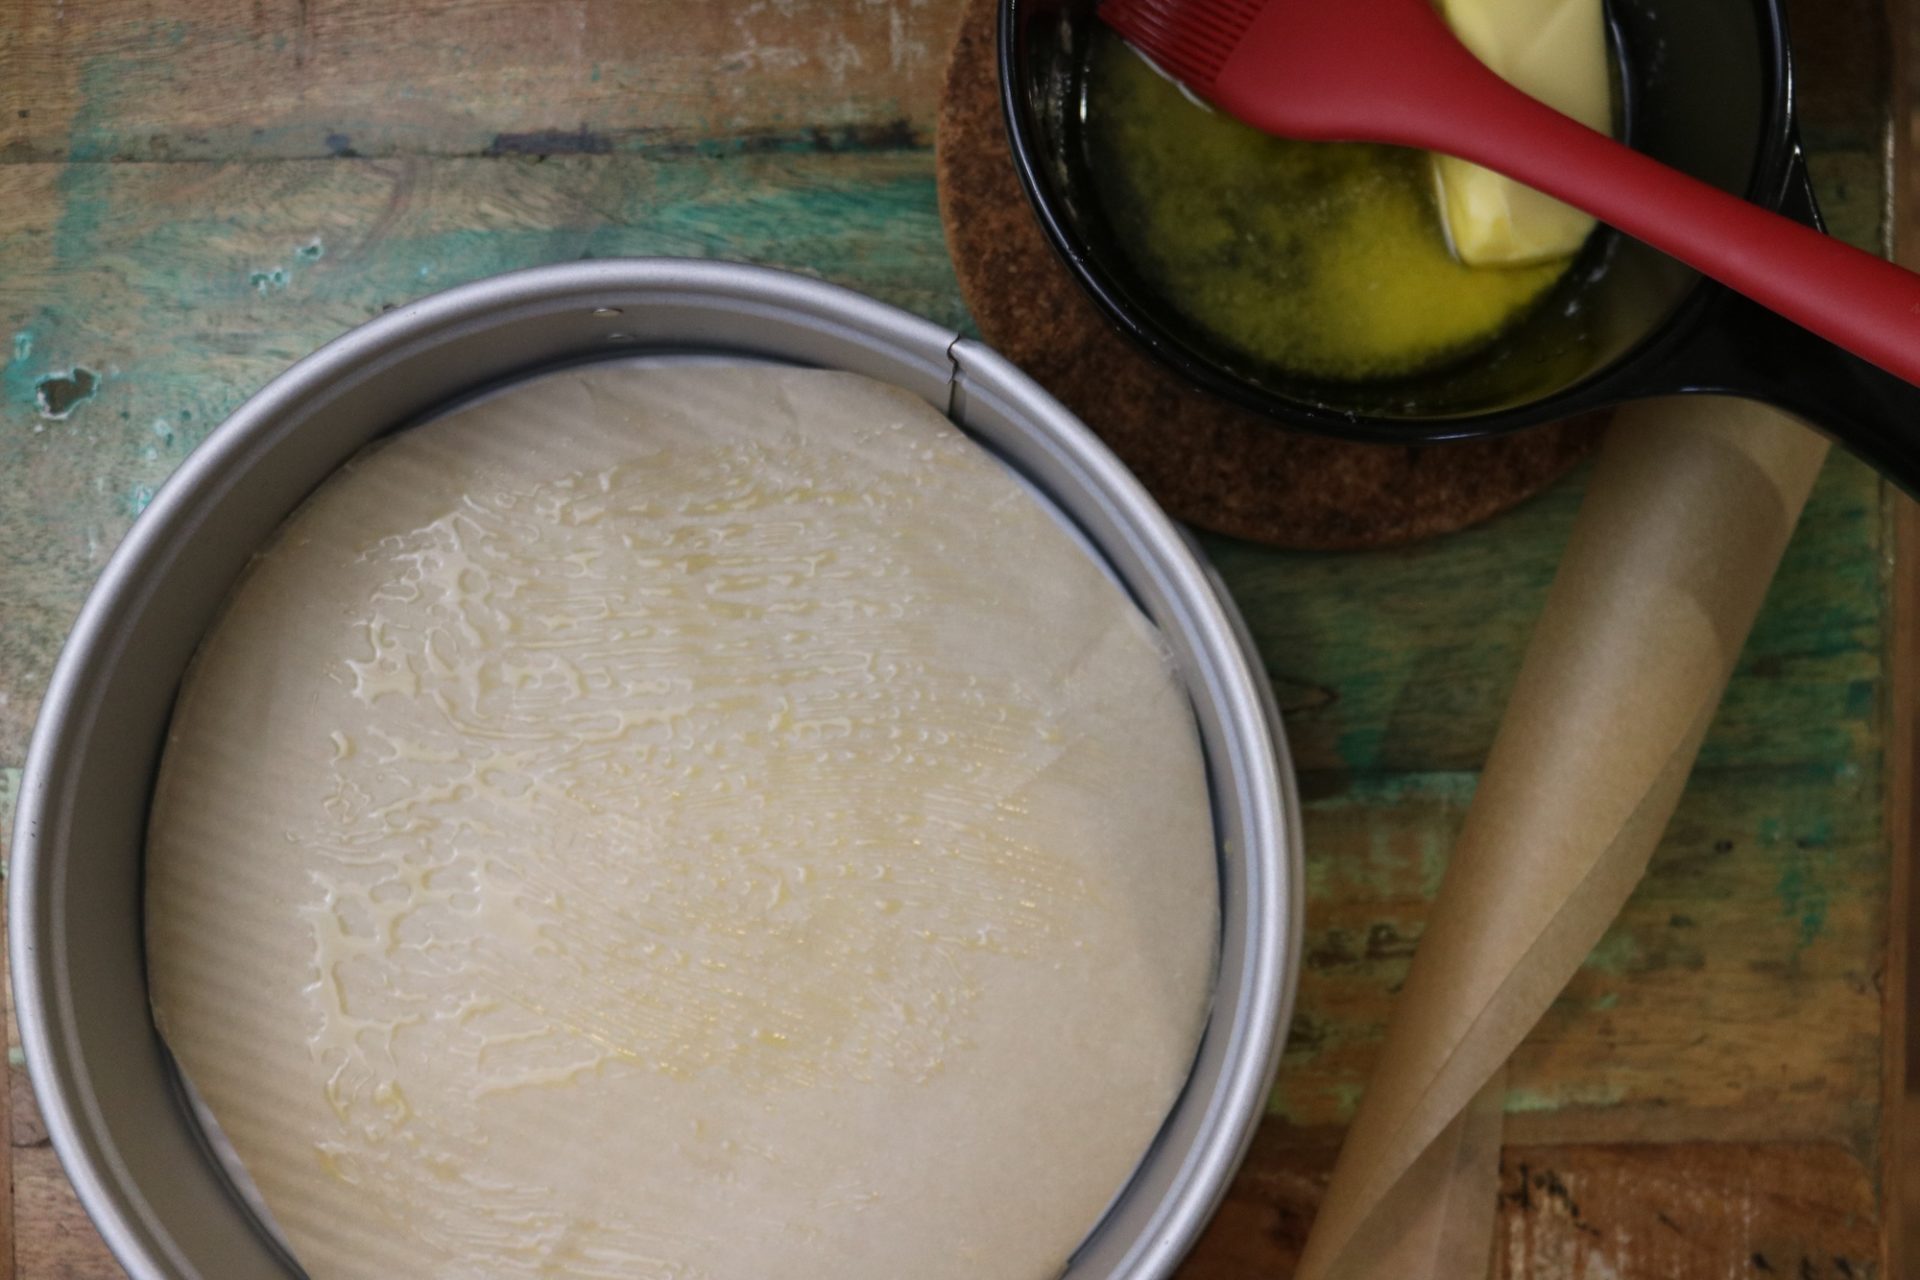
Whether you make it with or without the crust, buttered parchment paper will help your cheesecake come off the pan without sticking. When making this cheesecake, I butter both sides of my parchment paper. This helps the paper stick to the pan and also keeps the cheesecake from sticking to the pan. If you plan to serve it on another day, it helps to keep it from drying out.
The Crust
Cheesecake without crust is tasty but with crust it's delicious. To stay low-carb, I used a keto cereal to make the crust. After putting the crust mixture in the pan, use the bottom of a metal measuring cup to pat it down.
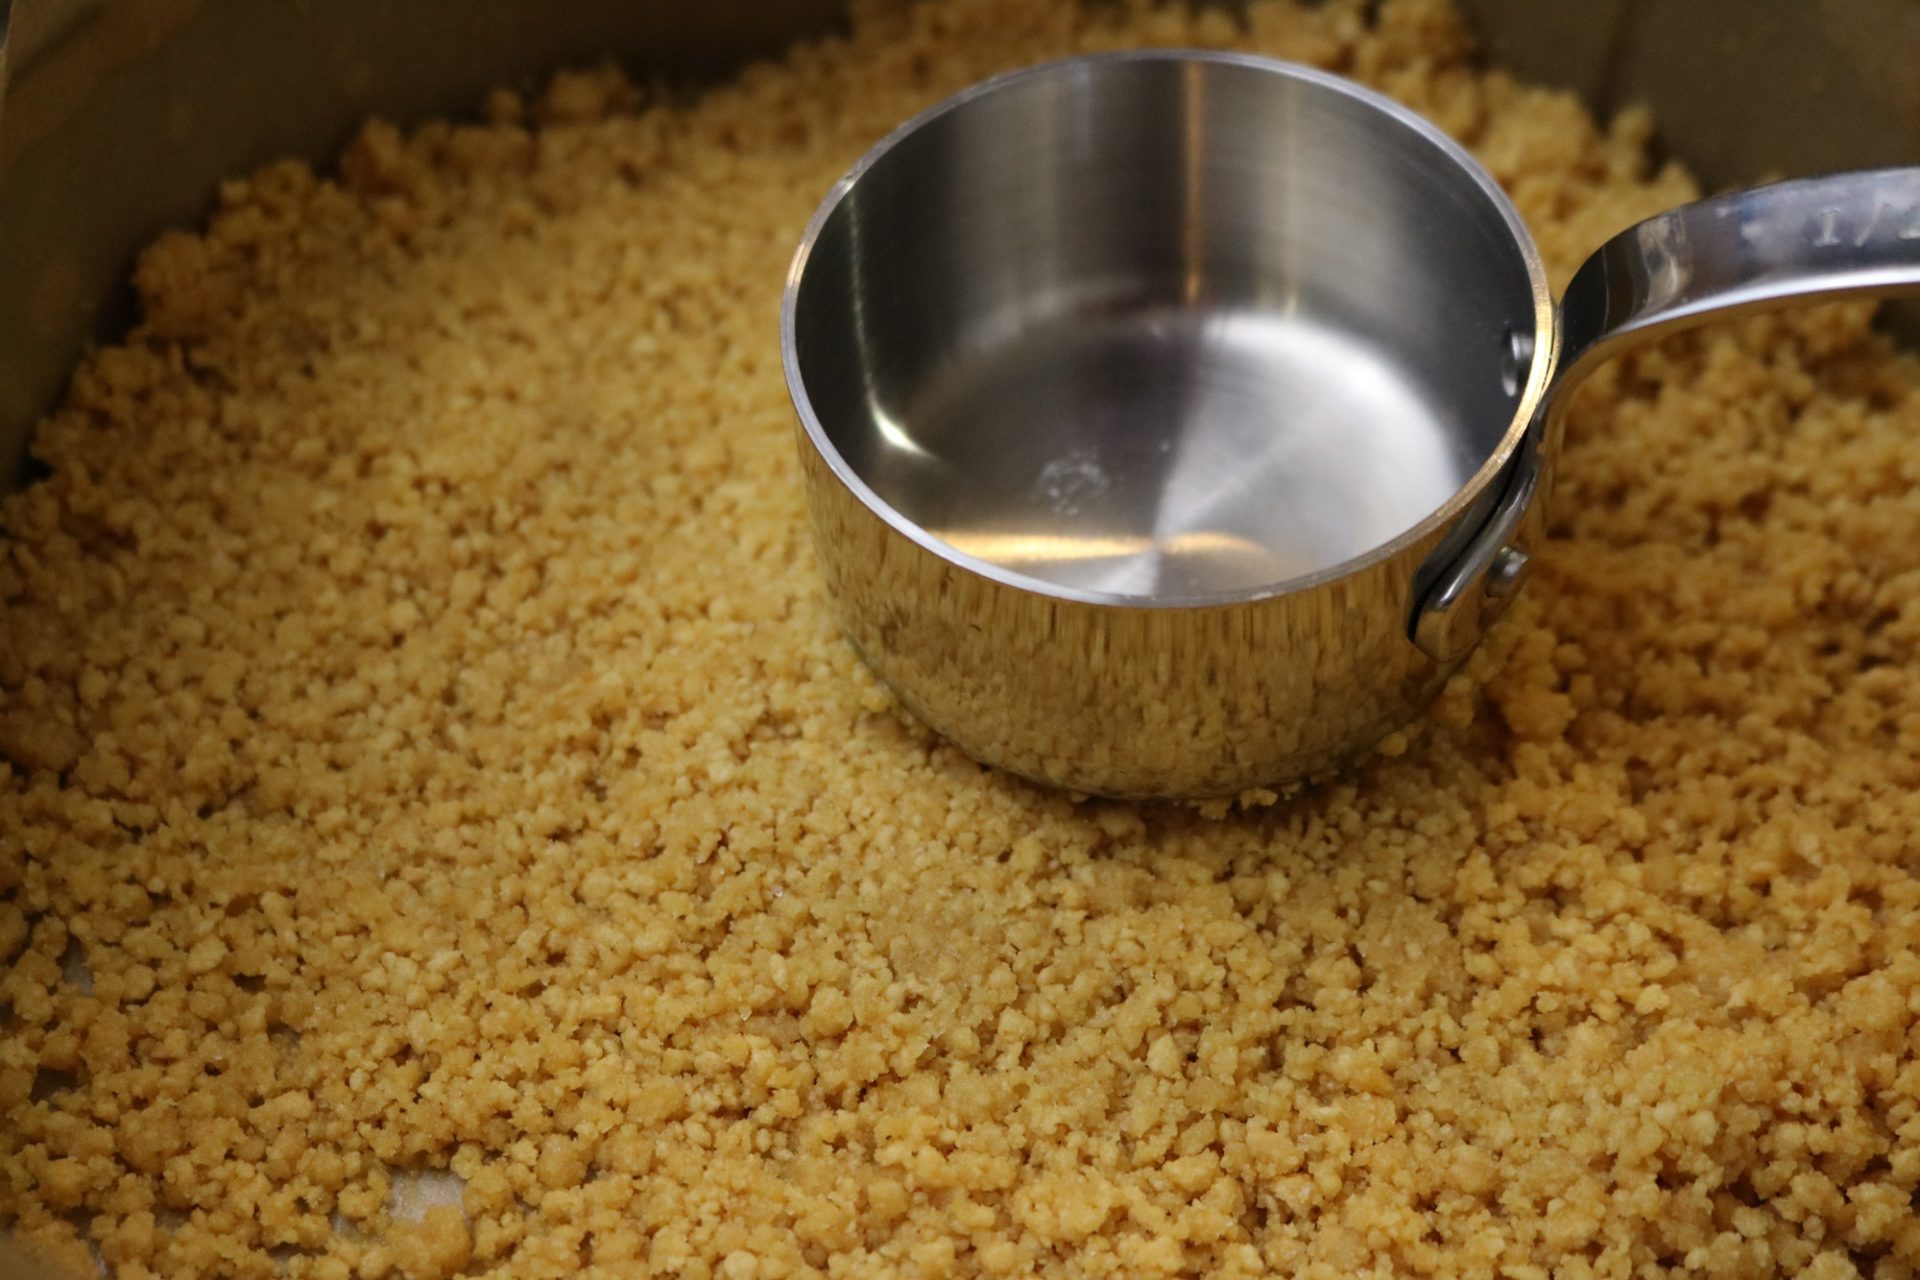
This will pack the crust down so that it sticks together. If you like the crust to come up the sides of your cheesecake, double the crust portion of the recipe.
My kids love cheesecake and don't mind a bit if I make it sugar-free. They also like to use pumpkin-flavored whipped topping!
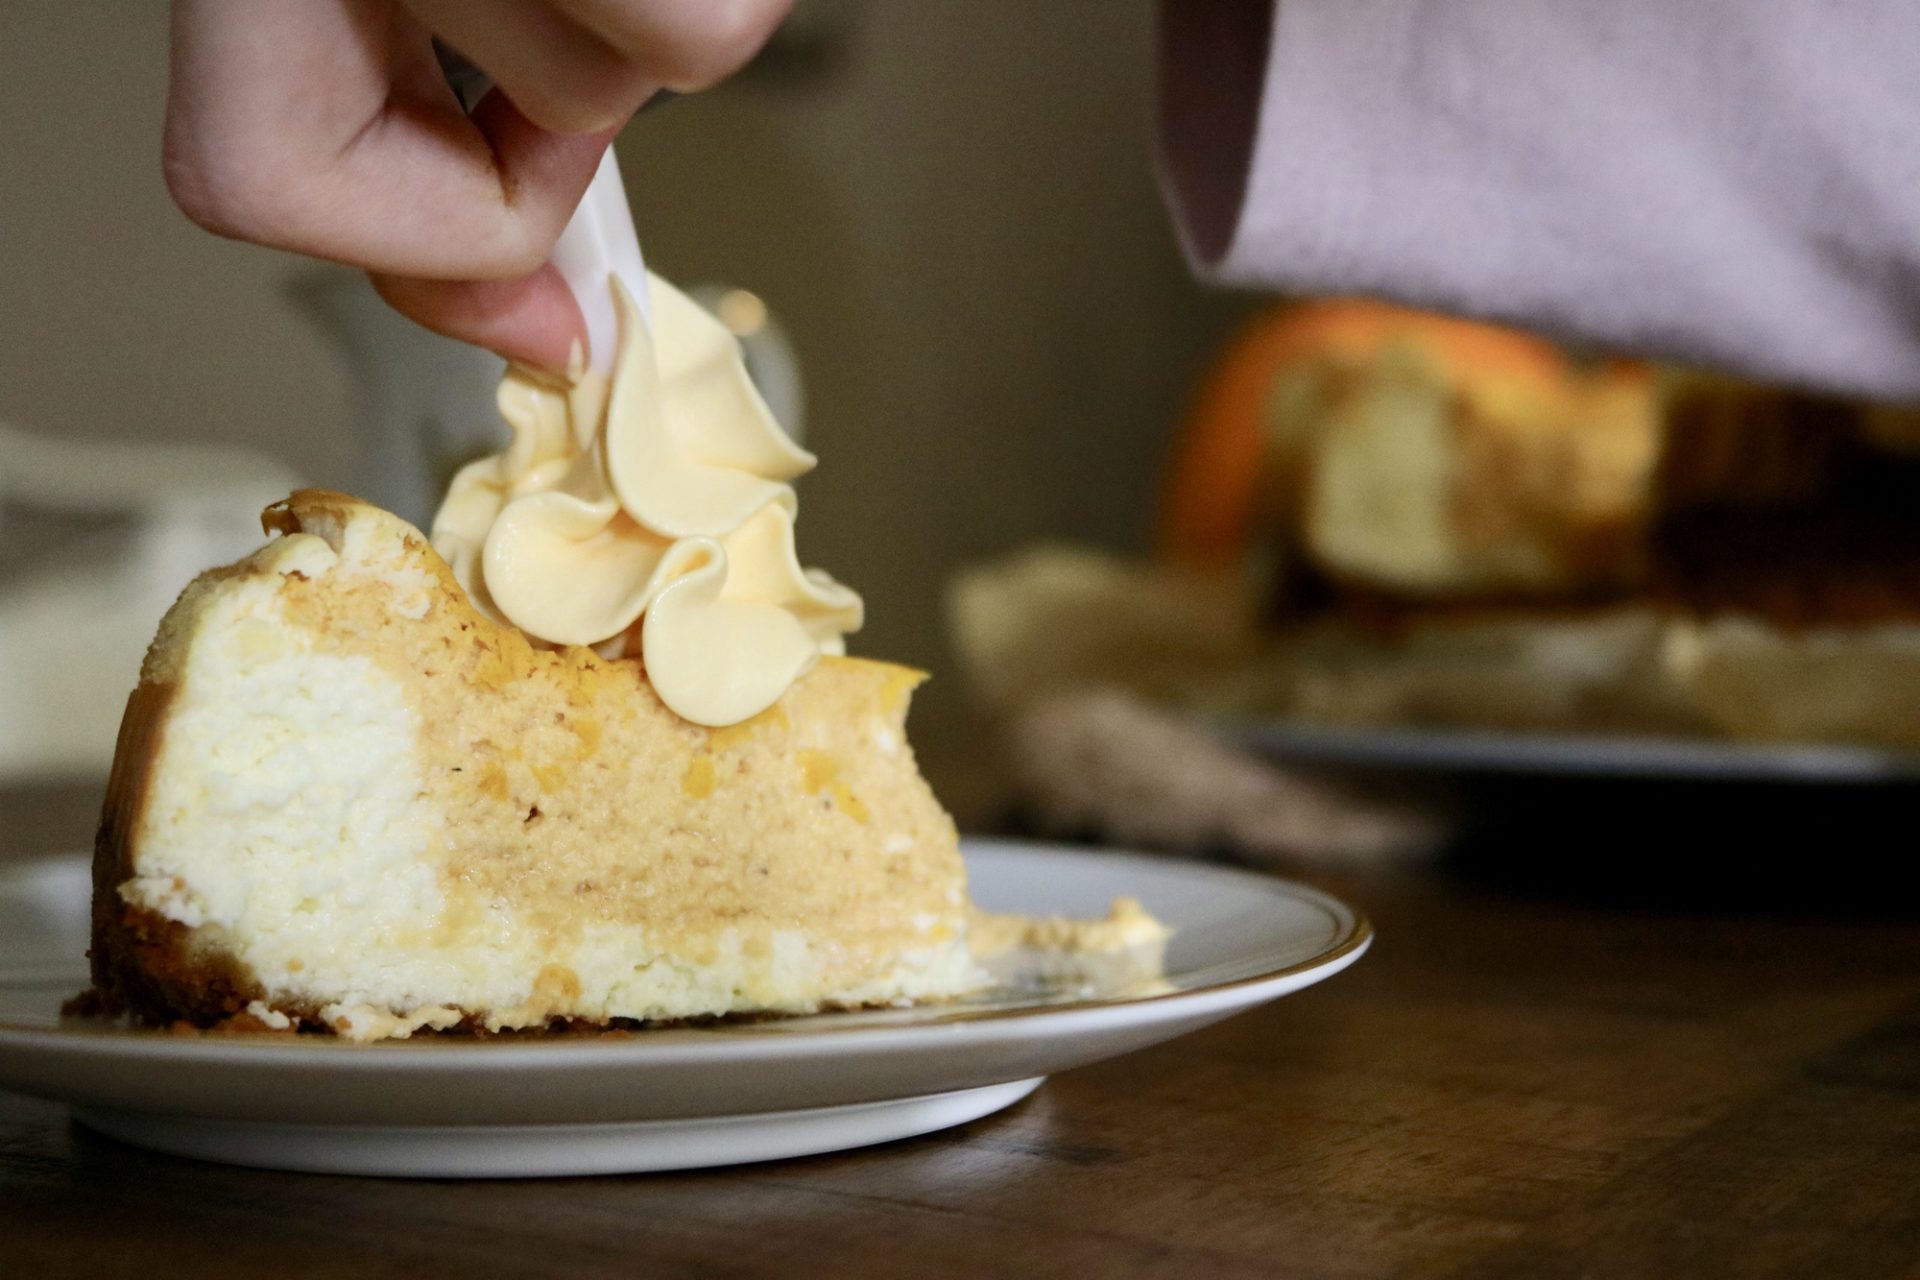
When making the pumpkin swirl version of this cheesecake put the cheesecake in the pan first, then gently dollop the pumpkin filling on top. Using a chopstick or something similar, swirl the pumpkin around, being careful not to scrape the crust on the bottom.
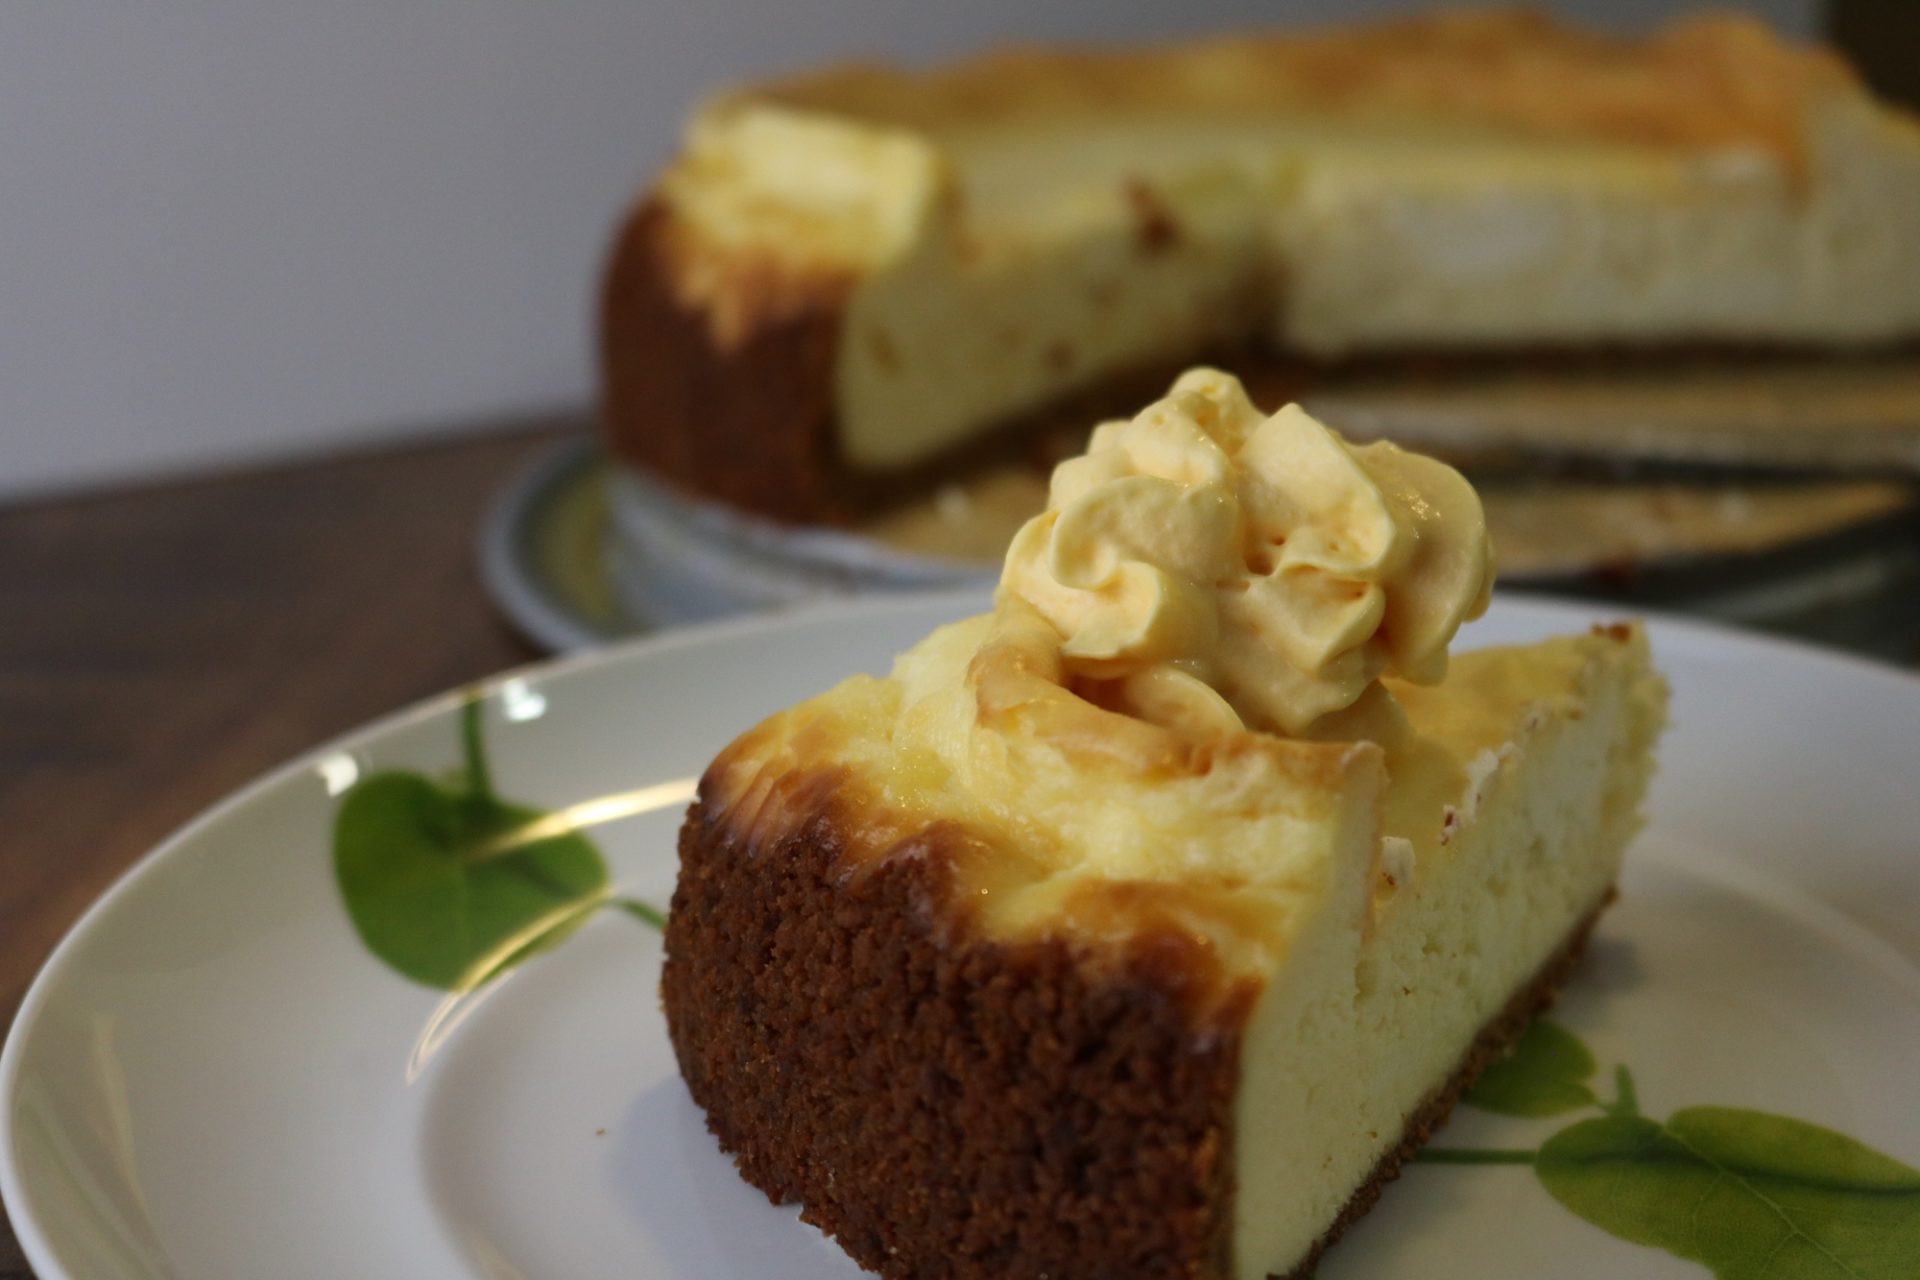
Cheesecake tastes better the day after being baked, so I like to plan accordingly. Luckily, cheesecake also freezes well, so if you want to plan ahead for the holidays, cheesecake can be made in advance.
For freezing a cheesecake:
- Bake, let come to room temperature
- Chill in fridge
- Wrap well and store in the freezer (cut or uncut)
- Use within a month
- Thaw in the fridge or at room temperature before serving
Water Bath
This part is completely optional.
I don't mind the look of a cracked cheesecake and don’t care for the hassle of a water bath. Aluminum foil is not something I keep around my house, therefore I usually do not bother for my cheesecake.
Having said that, many cooks will not do cheesecake without a water bath.
Using a water bath for baking cheesecake can help prevent cracking on the top and also helps not to dry out a cheesecake. However, if you don’t have a tight springform, or if there’s a tear in the aluminum, you may introduce water into your cheesecake!
The springform pan I am using is from Williams Sonoma, but it is similar to this one.
I’ve found I can get good enough results without the water bath, as long as I don’t mind a little crack on the top. I’ve seen plenty of professional cookbooks that do not use a water bath for cheesecake.
If you want to use the water bath method for baking a picture-perfect cheesecake:
Wrap the outside of your springform pan with foil, twice – two layers, some people use three layers – you don’t want water getting into your cheesecake. (Still, use the buttered parchment paper inside your springform pan.)
Place a clean tea towel in the bottom of a large roasting pan or cake pan to rest the springform pan on later. Place the springform, wrapped in foil, with the filling inside, on top of the tea towel. Fill with water about 2 inches will do.
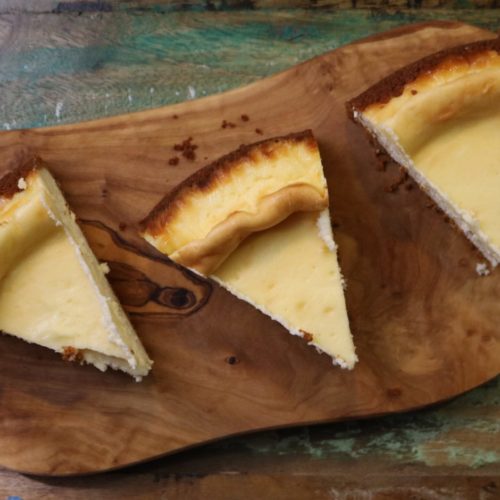
I like to skip all that extra work! You can see in my plain cheesecake pictures that the edges rose a bit then slid down. Didn't affect the taste at all!!
Low Carb Pumpkin Swirl Cheesecake
Ingredients
- 2 pounds cream cheese or goat cheese or a combination of the two
- 3/4 cup Pyure organic sweetener
- 1/2 cup heavy cream or Heavy Whipping Cream
- 4 eggs
- zest from one lemon
- 2 tablespoons lemon juice
- 1 teaspoon vanilla extract
- Pumpkin Swirl
- 1 cup pumpkin canned or make your own from pumpkins
- 1/4 teaspoon nutmeg powder
- 1 teaspoon ground cinnamon
- 1/4 teaspoon ground ginger
- 1/4 teaspoon ground allspice
- Two-finger pinch of salt just a pinch!
- For the optional “graham cracker” crust double if you want the crust to come up the sides of the pan
- 1 1/2 cups Catalina Crunch Graham Cracker Flavor
- 4 Tablespoons butter
- pinch of salt
Instructions
- Preheat the over to 350 degrees
- Cut parchment paper to cover the bottom and sides of a springform pan.
- Butter the sides and base of the pan, put the parchment paper in, butter the parchment paper. (Doing this helps the parchment paper adhere to the pan and also release from the cheesecake later)
- For a crustless cheesecake, omit this segment. If making the graham cracker crust, add 1.5 cups Catalina Crunch to a food processor, process until fine crumbs, stir together with melted butter. Press into the base of the lined springform pan, tamping it down gently but firmly with the back of a large spoon or another flat utensil. Bake for 7 minutes, then set aside to cool.
- Turn oven down to 325 degrees.
- In a stand mixer beat the cream cheese till fluffy using the paddle attachment, Scrape down sides, add the sweetener, mix well.
- Keep the mixer on medium speed while adding one egg at a time until all four eggs are incorporated.
- Turn mixer to low, add lemon zest, lemon juice, and cream.
- Add vanilla extract, mixing another half a minute.
- Put the springform pan with baked crust (if using) on a baking sheet.
- Remove 2 cups of the cheesecake mixture and set aside. Pour the plain cheesecake mixture into the prepared pan.
- To the two cups of the cheesecake mixture, add 1 cup of pumpkin, nutmeg, cinnamon, ginger, allspice then mix with a spoon.
- Gently pour the pumpkin/cheesecake mixture into the pan – using a spoon, drop the pumpkin mixtured on top of the plain cheesecake mixture. Then gently swirl the two cheesecake mixtures with a chopstick or a spoon handle, just a bit, not too much!
- Bake 50-60 minutes. The cheesecake will be jiggly in the center, don’t worry, it will firm up as it cools. If you’re worried, turn off the oven, leaving the cheesecake inside for another 10-15 minutes. Overbaking can cause a crack in the middle of your cheesecake.
- Allow cheesecake to come to room temperature, then chill in the fridge for a few hours before slicing. (Cool completely before removing the springform ring)
- For perfect slices, dip your cutting knife in hot water, then dry it before you slice, repeat with each slice for perfectly lovely slices.
Reminder – Cheesecake tastes better the day after baking
NUTRITION FACTS

 How to Manage Stressful Relationships and Survive the Holidays
Leave a Reply
You must be logged in to post a comment.